You are currently browsing the tag archive for the ‘travel organiser’ tag.
I don’t remember what made me want to try the clear vinyl, but I bought a metre of it to try, and finally got up the courage to open up the roll and cut out a piece. For my first attempt I followed a tutorial by Crafty Gemini on YouTube. It involves just one piece of vinyl and a zipper and is a nice easy entry into sewing with vinyl.
The vinyl I got from my usual bag supplies shop was rather stiff and turning out once finished was like a wrestling event. I finally got the pouches turned out, but.
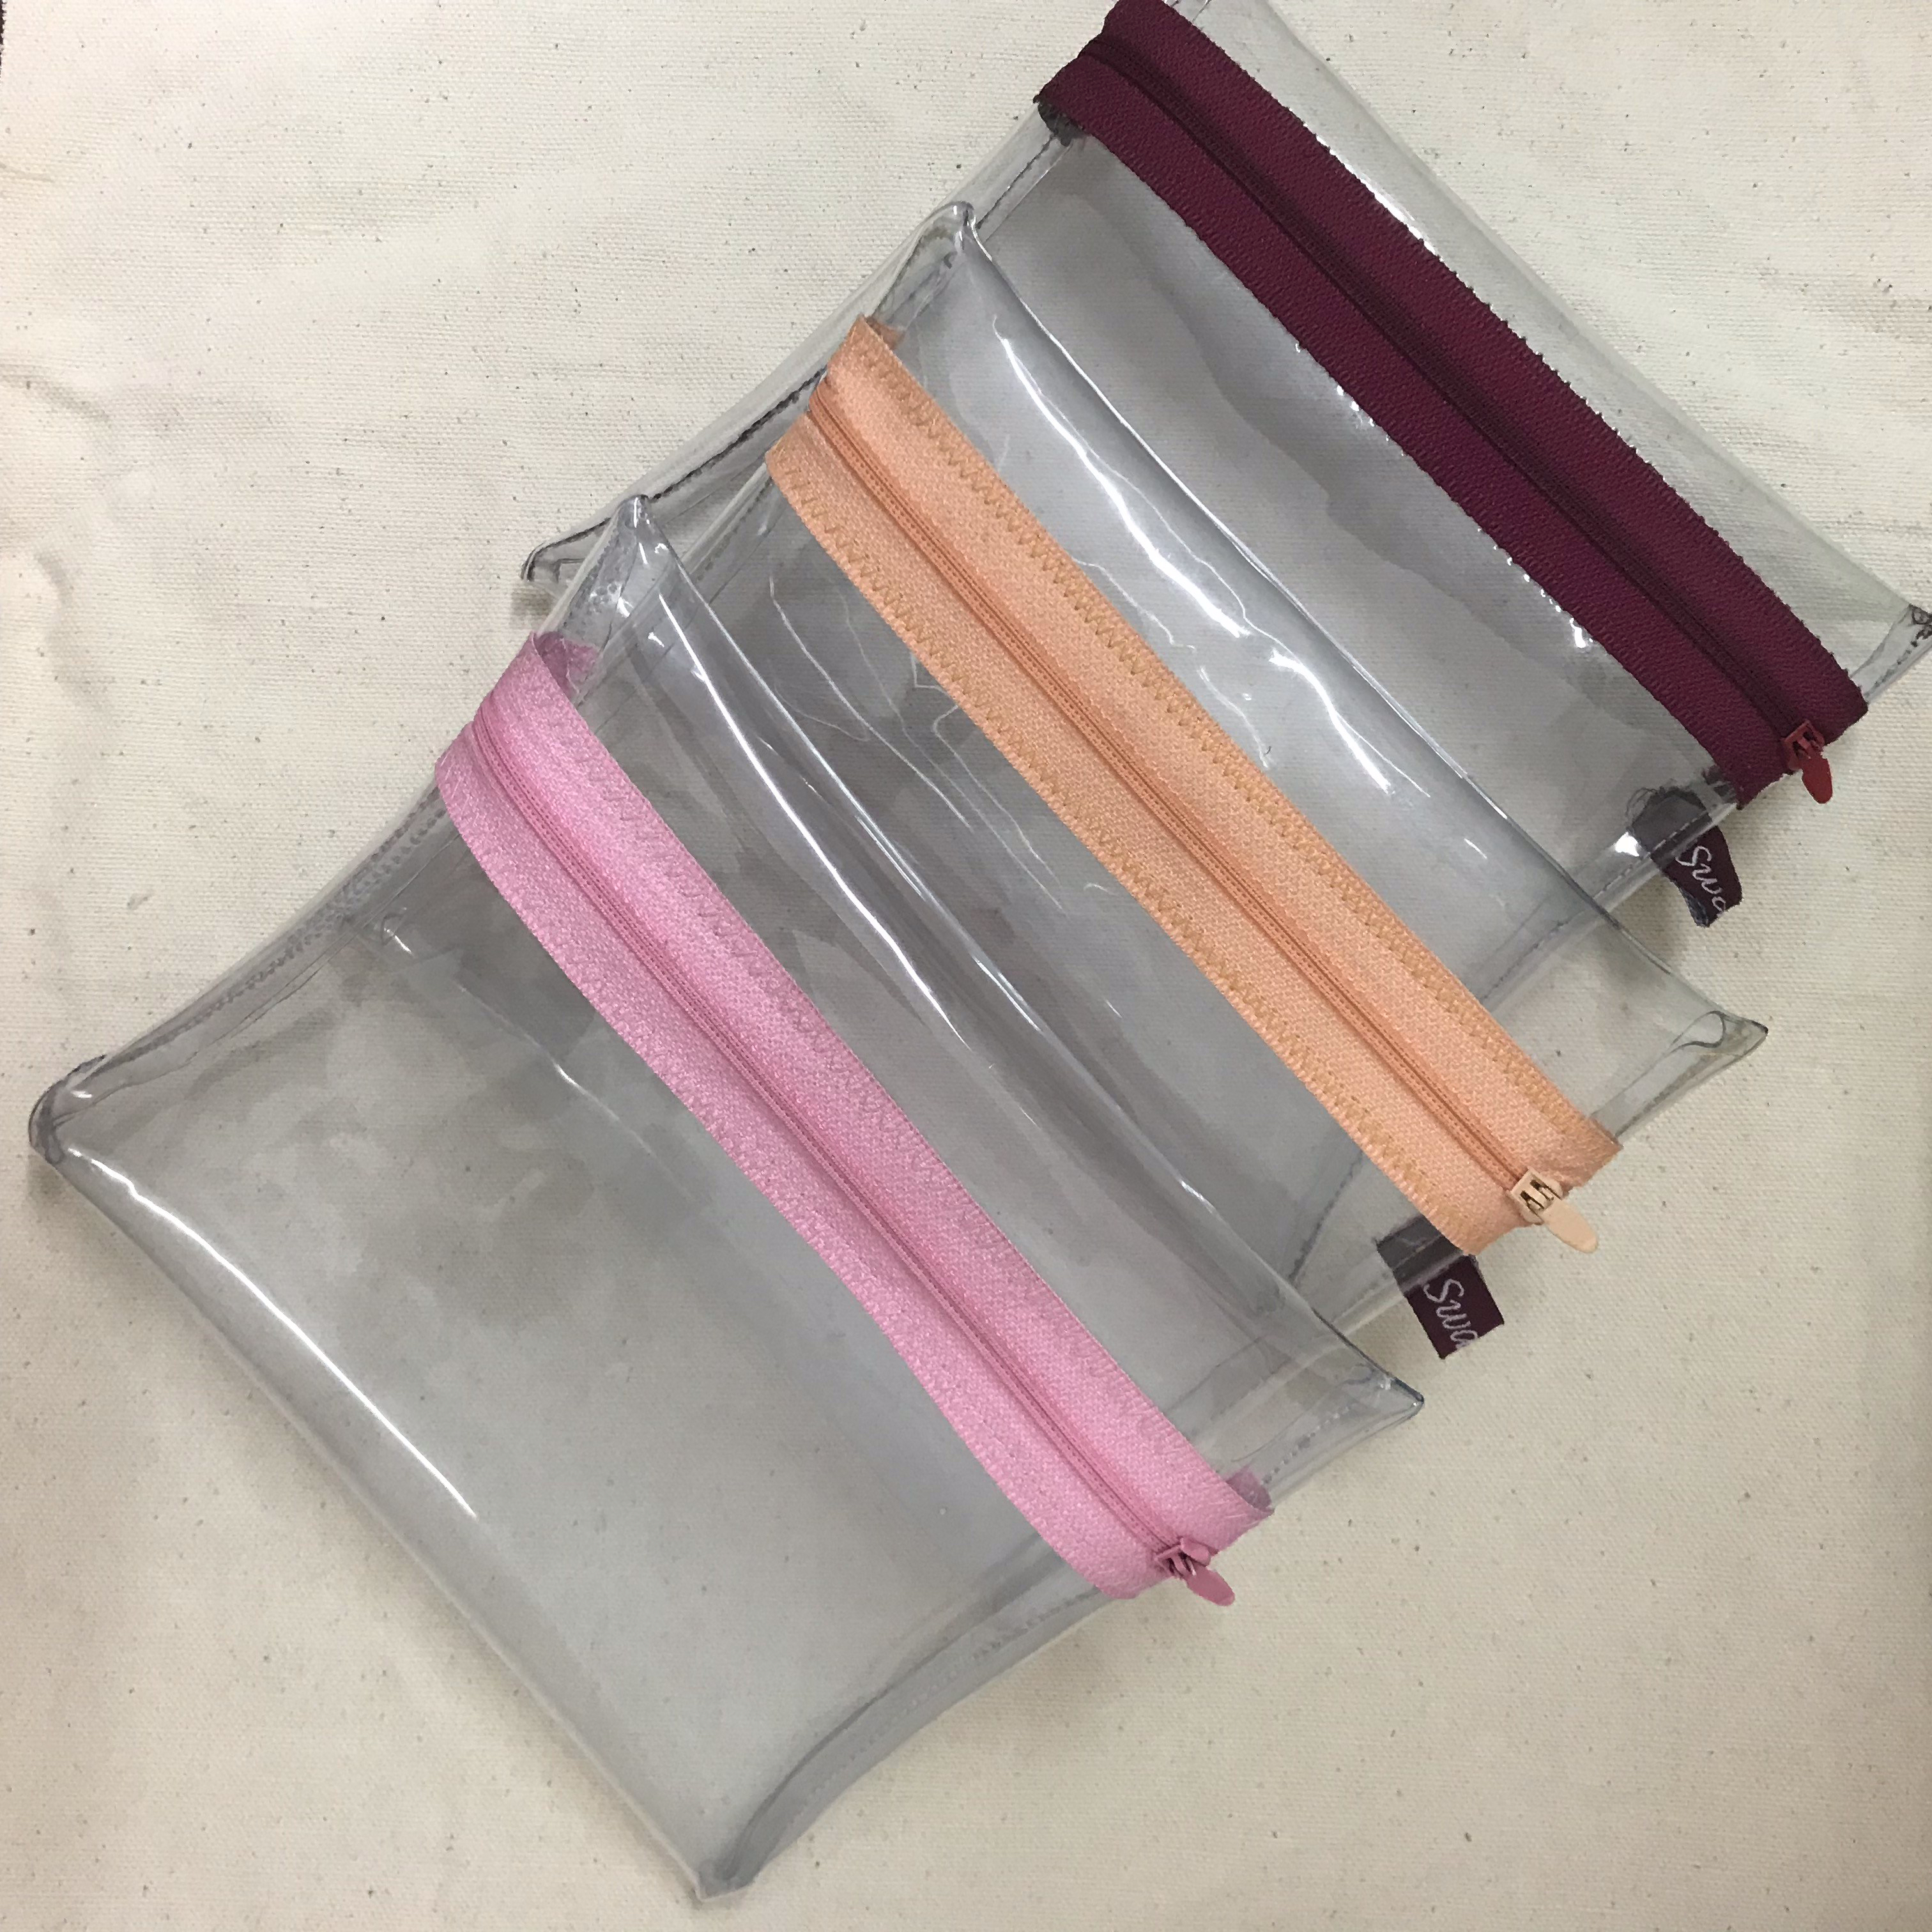

These are actually quite useful as project bags to cart around your sewing, crochet or knitting projects. Also, these would be great to take your make-up or personal care products with you when you travel, so that you don’t have to turn out all the contents of your toiletry bag at airport security. But clearly, the size isn’t ideal for a knitting or crochet project. It would be great for sewing and embroidery, since fabric is flatter.
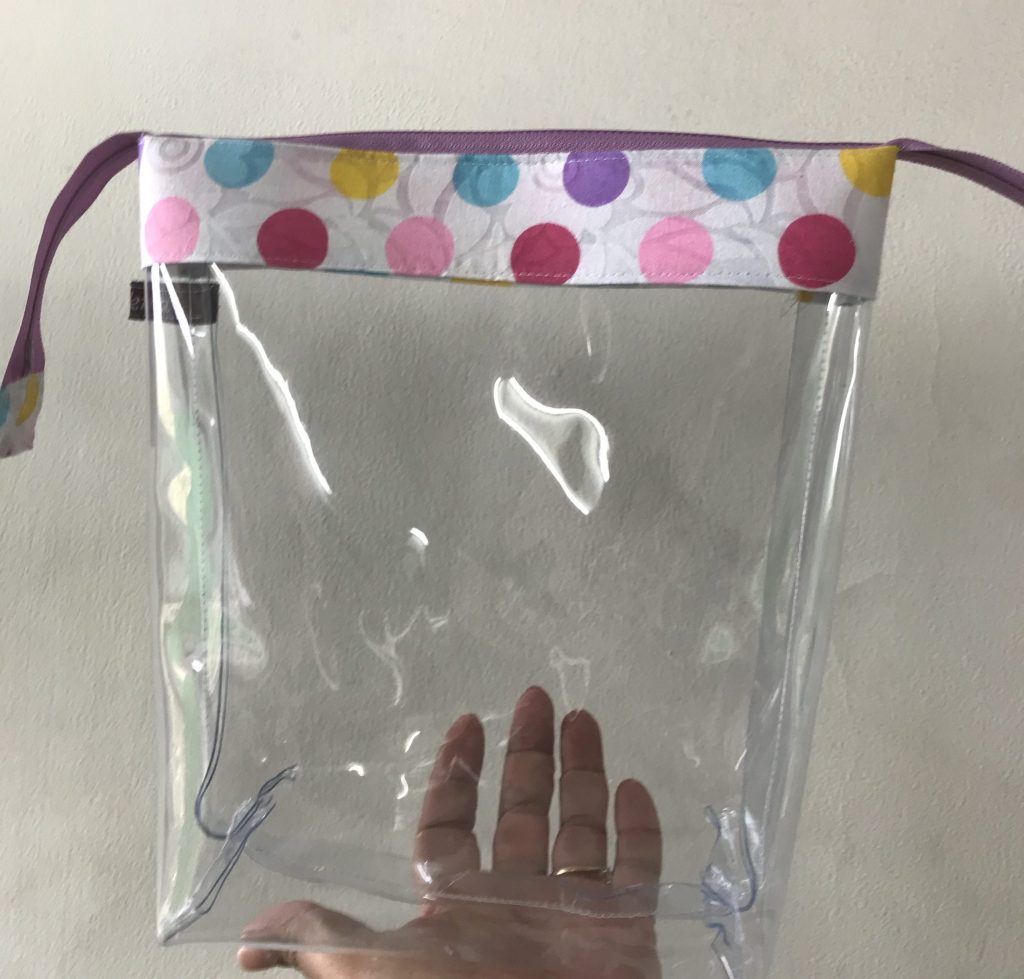
Then I wondered if perhaps it would be easier to turn out the pouch after sewing if I used some fabric panels. Plenty of patterns and tutorials are available for those as well. I finally ended up using one by So Sew Easy.
After those simple pouches, I took on the pattern that caused me to get into this vinyl business in the first place. A rollup case with compartments that can be hung up to access the separate compartments. I’m not sure why, but the concept fascinated me. There are several pattern options: this flat one (which I might make next), or this paid pattern with detachable compartments, made with fabric rather than vinyl.
But I chose a pattern by Pattydoo. It has an accompanying YouTube tutorial and a very affordable price. I could choose to make it with mesh or fabric but for my first attempt I chose vinyl.

Travel organiser hanging 
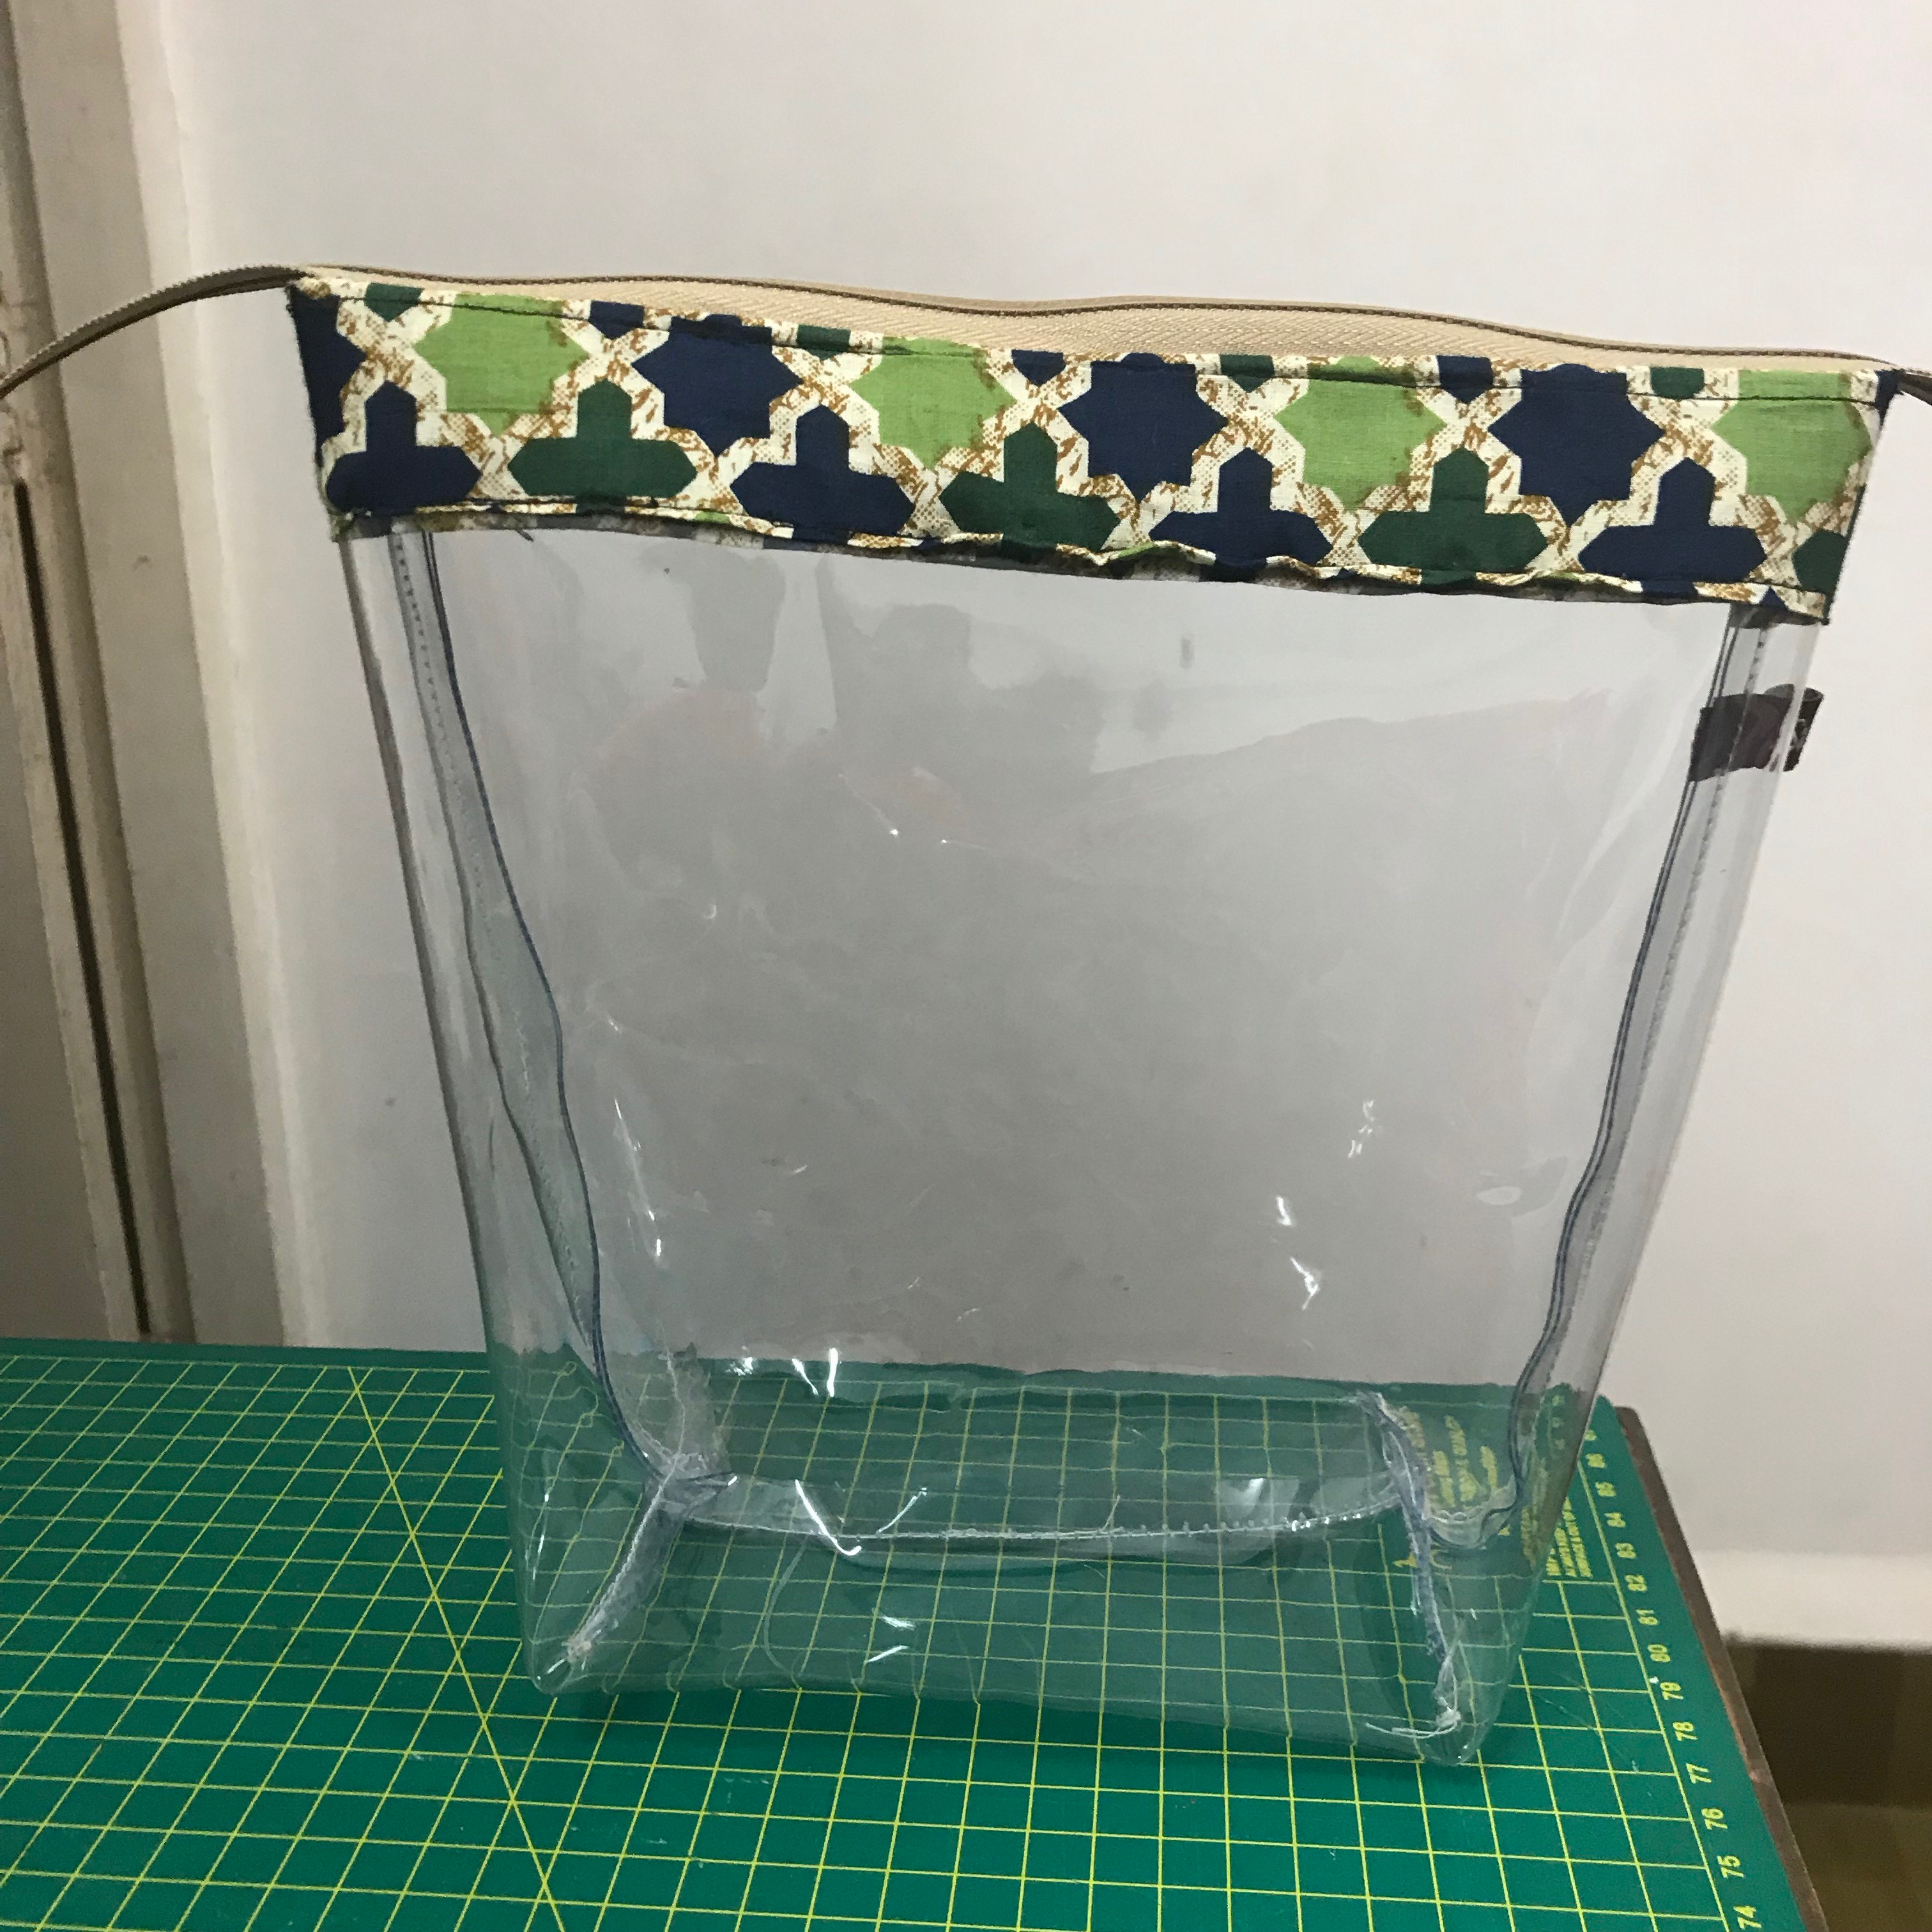
Travel organiser 
Travel organiser
This is the Kosmetiktasche Casey pattern by Pattydoo. My greatest hurdle in this was the binding that goes around the edges. I haven’t got much practice with it and I’m not very fond of sewing it. So the half-finished project languished on my sewing table while I made excuses to postpone making and sewing on the binding. I did finally get to it, though.
Variants in fabric accents
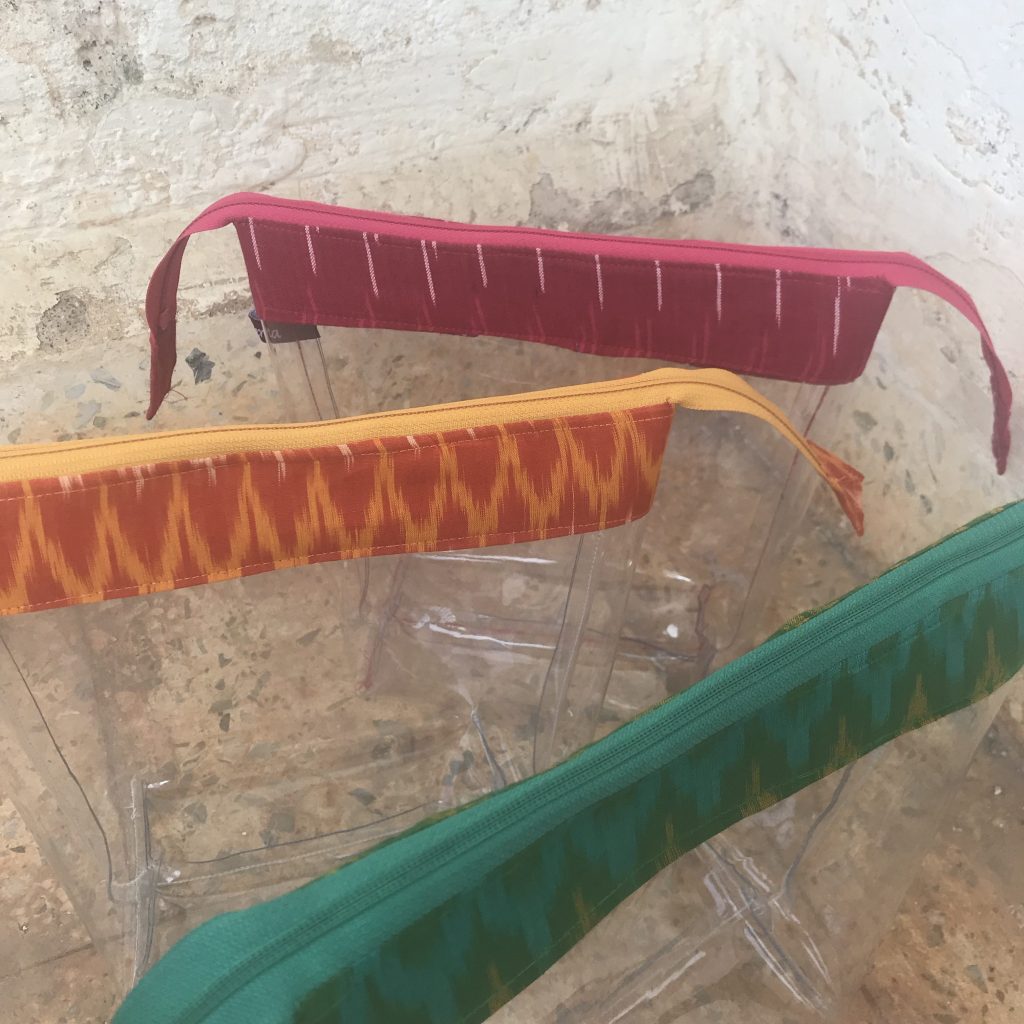
A customer wanted a set of the simple zipper pouches with ikat accents. I had not thought I had such a wide range of fabric in ikat, but my inner Hyderabadi seems to have surfaced. I was able to show her my range and she chose these three. By this time, however, I had had to go and buy reinforcements for the vinyl, and this time it seems to be a thinner variety.
Thick versus thin vinyl
So here are my observations/experiences with the vinyl. While the thicker variety was tough to manipulate for turning, the thinner variety was much easier. The flip side of that was that the thinner variety tends to stick, both to itself and the surface of the sewing machine. This made it a different sort of challenge. I finally compromised by sticking some paper on the machine so I could move this along to sew. A teflon foot helps on the other side. But although easier to turn, this vinyl also results in a pouch that stands up by itself.
I think if I tried Casey with this vinyl it might be easier, although there it wasn’t the turning that held me up but the binding.
I like trying out new materials and I think I can cautiously count this as a success. Have you tried vinyl? How has the experience been? If you haven’t yet but are planning to, here are a couple of tips I can give you for sewing with clear vinyl:
Beginner tips for sewing with vinyl
- Use a teflon foot if you have one. If you don’t, you can stick some tape on the bottom of the foot so that it does not stick to the plastic
- If you can cover your sewing machine’s surface with paper or some fabric, it will help move the vinyl freely. I stuck some on with washi tape
- I believe heating the vinyl with a hair dryer will help soften it enough to make turning it easier. I didn’t try this because I was afraid it might deform the vinyl, so I cannot vouch for or against it
- To hold the fabric to the vinyl, you could use pins, as long as the holes will be hidden in the seam or under the fabric. If close to the edge, you can use binder clips or Wonder Clips to hold the fabric and vinyl together
- Use a longer stitch length to minimise the number of holes the sewing makes. Use a light, neutral colour of thread so the stitching is as inconspicuous as possible. Unless of course you want the thread to show as a design feature!
- Sew slowly and steadily. Take your time with it. You don’t want to have to rip out any stitches that go wrong, because the resulting holes will not go away.
Pattern mini-reviews
As for the patterns/tutorials I used, I found all three (Crafty Gemini, So Sew Easy and Pattydoo) easy.
I like to watch Crafty Gemini for her accent (which is a very funny thing to admit, but I like how she pronounces her ‘r’, and she’s just so lovely to look at!) And she has a range of simple but useful free pattern tutorials.
So Sew Easy also has several useful patterns and tutorials. I think I own most of their patterns by now. And talking of accents, I love listening to the British accent for a change…
I like Pattydoo patterns because they print with a grid and are affordable in comparison with most US patterns. The tutorials (usually free) are always detailed and clear enough that I can follow even with my half-knowledge of German (she does have some with English subtitles). It helps me pick up some sewing related German vocabulary. There are one or two other patterns I want to try.
On the whole, sewing with vinyl has expanded my range, and increased the appeal of my products among my customers. I think I will get more comfortable as I make more pouches and bags and wallets and organisers with clear vinyl or plastic. Hop on over to my Instagram feed to see how some of my pouches are being used. It might inspire you to make your own, or order some custom-made ones from me!